
Reviewed · WORKSHOPS
Hong Kong Photography Masterclass – Private Photography Lesson
Hong Kong glows after dark. This private three-hour lesson takes you from Tsim Sha Tsui and Nathan Road to Temple Street, Graham Street Market, the skyline, and Victoria Peak while a professional photographer helps you make better night images. I like the focus on practical skills such as long exposure, light trails, light painting, and high ISO shooting. I also like the private format, which lets you adjust the pace and spend more time on scenes that catch your eye.
The tour costs $170 per person, so it is not a casual sightseeing walk. You are paying for personal instruction as well as access to some of Hong Kong’s best photo settings. The main drawback is that the camera and tripod are not included. A tripod can be rented, but you will need to arrange that, and the three-hour schedule may feel tight if you want to cover every listed location carefully.
In This Review
- Key points before you book
- Why Hong Kong works so well for a photography lesson
- Starting beside the Clock Tower in Tsim Sha Tsui
- Tsim Sha Tsui Promenade and the Harbour
- Nathan Road, neon, and moving subjects
- Temple Street Night Market and street photography
- Graham Street Market on Hong Kong Island
- Hong Kong Island, the skyline, and the Peak
- The technical skills you will practice after dark
- What the private format adds at $170
- Practical details that affect your evening
- Who should book this Hong Kong photo walk?
- Should you book the Hong Kong Photography Masterclass?
- FAQ
- How long does the photography lesson last?
- Where does the tour begin?
- Where does the tour end?
- Is this a private tour?
- Is a camera included?
- Is a tripod included?
Key points before you book
- Private instruction with a professional photographer: You receive direct help with camera settings, composition, and night photography rather than a general group explanation.
- A strong Hong Kong night route: Tsim Sha Tsui, Nathan Road, Temple Street, Graham Street Market, the skyline, and Victoria Peak offer very different subjects.
- Useful technical practice: The lesson covers long exposure, light trails, light painting, and high ISO shooting.
- Flexible pacing: Guide Bharat adjusted the route for one participant, allowing the walk to feel relaxed rather than rushed.
- Bring or rent a tripod: A tripod is especially useful for skyline images and long exposures, but it is not included.
- Three hours can pass quickly: The route covers both Kowloon and Hong Kong Island, so you should expect a brisk outing and should clarify how transport between areas will work.
Why Hong Kong works so well for a photography lesson
Hong Kong gives you plenty to photograph without needing elaborate staging. You have signs, markets, trams, towers, harbour views, narrow streets, and sudden changes in light all close together. That variety makes the city a useful classroom because you can practice several techniques in one evening.
A private lesson also changes the experience. Instead of stopping only at standard viewpoints, you can ask why a certain shutter speed works, how to handle a bright sign, or how to frame people moving through a crowded street. The guide can respond to your camera, your experience level, and the type of pictures you want to make.
I would not treat this as a standard city tour with a few photography tips added on. The value comes from learning how to make decisions in changing conditions. Hong Kong at night can be difficult: bright neon sits beside dark alleys, moving cars create streaks, and people rarely hold still. Those problems are exactly what make the setting useful for practice.
The experience is also suitable for more than serious camera owners. You can bring a compact camera or another capable camera, but the focus on manual techniques will be most useful if your equipment allows you to change shutter speed, aperture, and ISO. A phone user may still enjoy the walk and views, but the lesson is designed around photographic control.
More Workshops in Hong Kong
- Organic Chinese Dumpling Class with Market Walk
★ 5.0 · 88 reviews - Organic Xiao Long Bao Soup Dumpling Class & Market Walk
★ 5.0 · 62 reviews - Tea Tasting and Pairing Concept Workshop
★ 5.0 · 57 reviews
Starting beside the Clock Tower in Tsim Sha Tsui
The meeting point is the former Kowloon-Canton Railway Clock Tower at 10 Salisbury Road in Tsim Sha Tsui. This is a sensible starting place because you are close to the waterfront, major streets, and public transportation.
At the beginning, use the first few minutes to tell the guide what you want to improve. You might want help with night portraits, architecture, street scenes, or long exposures. If you have a particular camera, lens, or problem with your images, say so early. A private lesson works best when the instruction is shaped around your goals.
The Clock Tower area also puts you near open harbour views and strong city architecture. You can begin with straightforward compositions before moving into darker, more demanding streets. That progression matters. You are not thrown immediately into a market full of people and competing signs.
Tsim Sha Tsui Promenade and the Harbour
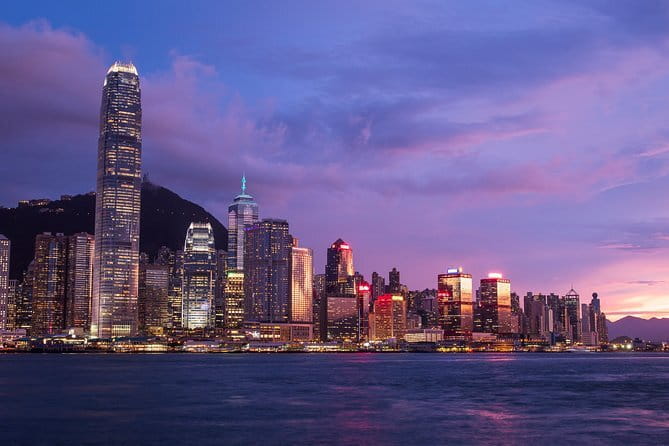
The Tsim Sha Tsui Promenade gives you one of the clearest chances to work with Hong Kong’s skyline and harbour. Reflections, building lights, and the open water create good conditions for learning how to steady a composition and control exposure.
This is where a tripod becomes especially useful. A long exposure can smooth the water and capture more light, but handholding at slow shutter speeds often produces blur. Since the tripod is not included, bring your own if possible or arrange the rental in advance.
The promenade is also a good place to discuss composition. You can work with the skyline as a broad horizontal scene, then look for a tighter frame using railings, people, or architectural details. The guide can help you decide whether the picture is really about the harbour, the buildings, or the relationship between them.
The open viewpoint has one limitation: it can feel less personal than the back streets. If you already know how to photograph city skylines, you may get more from the technical advice than from the location itself. Still, it is a useful opening exercise before the route becomes more crowded and visually complicated.
Nathan Road, neon, and moving subjects
Nathan Road brings a different problem: too much happening at once. Signs, traffic, pedestrians, shopfronts, and changing light compete for your attention. This is a good setting for learning to simplify a frame instead of pointing at everything that looks interesting.
Night photography here can include light trails from passing vehicles. A slower shutter speed records movement as lines, while a faster setting freezes a person or vehicle. The lesson covers this balance, along with the way ISO affects brightness and image noise.
You will likely need to make quick choices. A scene can change before you have settled your composition, so it helps to accept that not every frame will work. The guide’s role is valuable here because you can get immediate help with where to stand, what to include, and which settings to try.
Nathan Road is not a quiet teaching environment. You may find that conversation is harder beside traffic and crowds. That is part of the setting, but it also means you should not expect a slow, studio-style lesson with long explanations at every stop.
More Photo Tours in Hong Kong:
- Victoria Harbour Yacht Night Cruise – DREAMER:Tourguide & Photos
★ 4.0 · 58 reviews - Photography Workshop and Photowalk (FIND YOUR DIRECTION)
★ 5.0 · 19 reviews - Gran Canaria Full Private Photography Experience
★ 5.0 · 26 reviews - Beijing: Must-Try Chinese Ancient Costume Rental& Photoshoot
★ 4.9 · 26 reviews
Temple Street Night Market and street photography
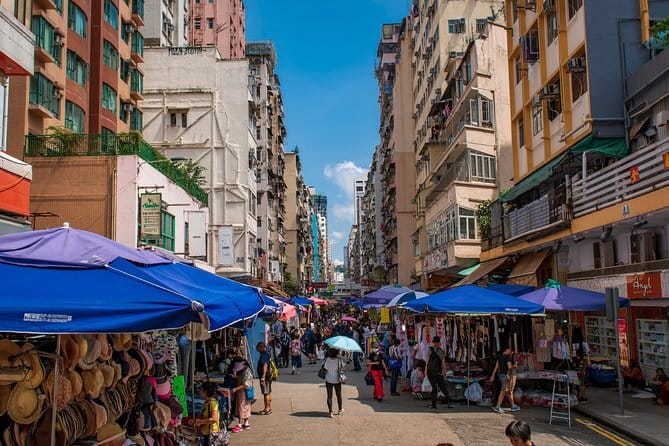
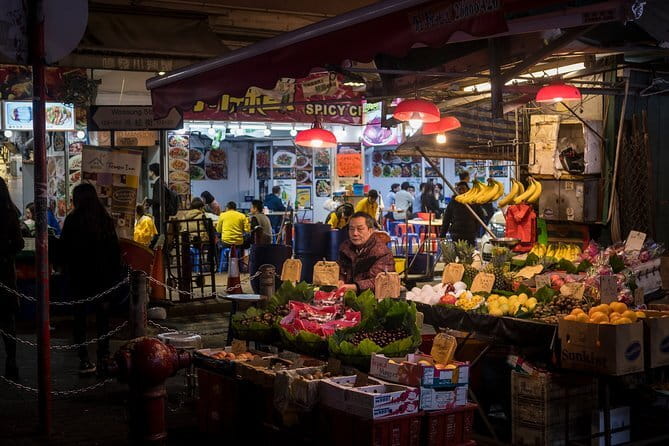
Temple Street Night Market gives the tour its strongest street-photography character. Markets provide layers of detail, shop lighting, signs, merchandise, and human activity. You can work on timing and observation rather than only on technical settings.
This is a natural place to practice high ISO shooting. You may need a faster shutter speed to reduce motion blur, but the darker conditions may force you to raise ISO. The guide can show you how to make that tradeoff and how to decide which flaw is least damaging in the image.
The market also rewards patience. Instead of photographing the entire scene, look for a single detail, a useful pattern, or a moment when people and light line up. You can ask the photographer how to approach street scenes respectfully and how to make a picture without turning every person into a posed subject.
The drawback is space. Markets can be crowded, and a tripod may be awkward or impractical in the busiest sections. For this part, a handheld approach may work better. Keep the tripod for the skyline or another location where you have room to set it down safely.
Graham Street Market on Hong Kong Island
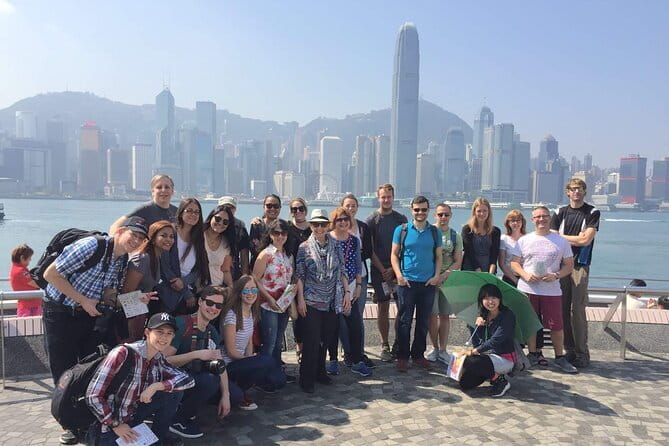
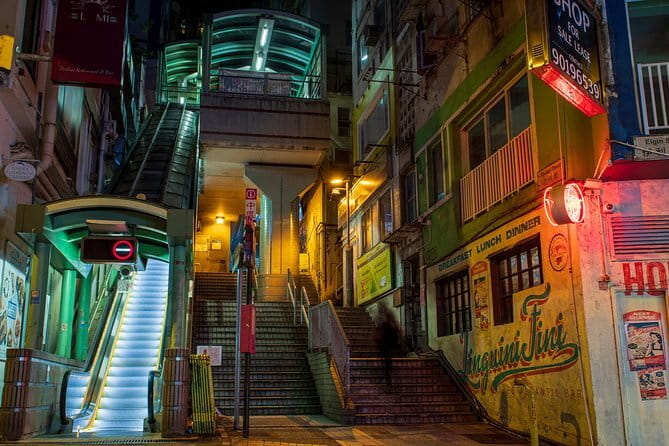
Graham Street Market shifts the mood again. Its stalls and close street details offer a more intimate subject than the harbour skyline. You can focus on textures, produce, signs, shopfronts, and the relationship between older market activity and the city around it.
The route includes both Kowloon and Hong Kong Island, which gives you a wider range of subjects in a short period. It also creates a practical question: the tour details do not specify how the group moves between these areas. Ask about the transport plan before booking, especially if you want to know how much of the three hours will be spent walking rather than changing locations.
Graham Street Market is well suited to creative development. The guide is not only there to tell you which button to press. You can test different angles, look for details others might pass, and build a personal way of seeing the city. That is one of the better reasons to choose a private lesson over a large photo walk.
Hong Kong Island, the skyline, and the Peak
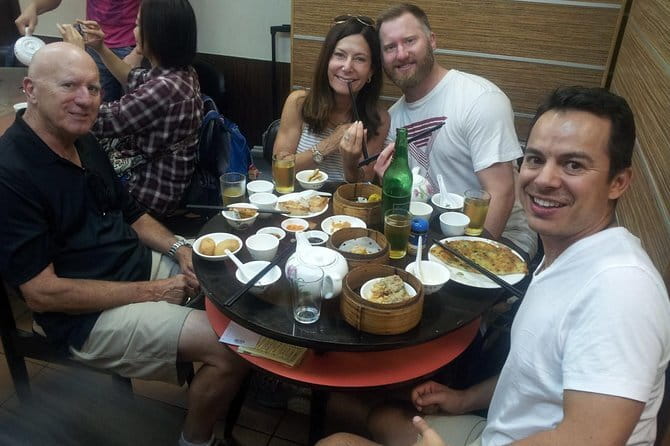
The Hong Kong Island portion brings you back to grand views. The skyline and Victoria Peak offer a chance to compare wide city compositions with the tighter street scenes from earlier in the evening.
At the Peak, the city becomes the subject rather than the background. A tripod can help you use a slow shutter speed after sunset, when the buildings and harbour lights are bright but the surrounding sky is dark. You can also practice keeping vertical lines straight and deciding how much sky, water, and city to include.
The Peak is famous for views, but the location alone does not guarantee a strong photograph. Weather, visibility, and the number of people at the viewpoint can affect your results. A private guide can still help you make the most of the conditions, perhaps by changing the composition or concentrating on details instead of forcing a wide skyline shot.
The listed route includes both Hong Kong Skyline and Victoria Peak, also called The Peak. These may be treated as separate photo opportunities, but the schedule is only about three hours. I would expect a selective visit rather than an exhaustive exploration of each place.
The technical skills you will practice after dark
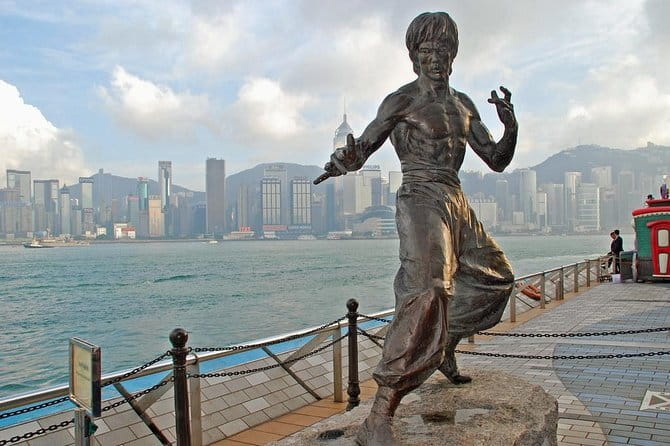
The lesson’s real purpose is to help you handle difficult light. Here is what the named techniques mean in practical terms:
- Long exposure: Useful for harbour scenes, city lights, and movement. You will need to keep the camera steady, which is why a tripod matters.
- Light trails: Passing traffic can become streaks of light when you use a slower shutter speed. Timing and camera position make a large difference.
- Light painting: You can use moving light as part of the image, creating lines or shapes during a long exposure. The exact setup may depend on the guide and location.
- High ISO shooting: Raising ISO helps in darker streets, but it can add noise. You learn when the extra brightness is worth the loss in image quality.
- Composition in crowded places: Markets and main roads force you to decide what belongs in the frame and what should be left out.
These skills have value beyond Hong Kong. Once you understand how shutter speed, ISO, and stability affect a night image, you can use the same ideas in any city. The lesson is therefore more useful than a simple collection of scenic stops.
What the private format adds at $170
At $170 per person, this experience costs more than a regular group walking tour. The comparison is not quite fair, because you are buying a private session with a professional photographer guide rather than only commentary about sights.
The price makes the most sense if you want instruction. You can ask questions as they arise, change the balance between markets and viewpoints, and work at a pace that suits your camera skills. The flexible approach associated with guide Bharat is especially appealing if you dislike being pushed from one stop to the next.
If you are already an advanced photographer and mainly want someone to take you to famous views, the value is less clear. You may prefer a simple sightseeing route and make your own pictures. At this price, I would book only if you expect to learn, experiment, and receive useful feedback.
Group discounts may reduce the cost for a shared booking, but the activity remains private for your group. That makes it a good fit for partners, families, or friends with similar interests. It is less attractive if you only want a quick photo stop and do not plan to use the instruction.
The experience is commonly booked well ahead, with an average booking lead time of about 68 days. That suggests you should not leave it until the final days of a Hong Kong visit, particularly if you need a certain evening.
Practical details that affect your evening
The activity lasts about three hours and begins and ends at the Clock Tower meeting point. Since the route includes several districts and Hong Kong Island, wear comfortable shoes and avoid carrying more gear than you can manage.
The camera is not included, and the tripod is available to rent rather than supplied as part of the price. Check your equipment before you arrive, charge your batteries, and bring enough storage for a night of repeated testing. These are simple steps, but a photography lesson is wasted if you spend half the time solving equipment problems.
Confirmation is provided at booking. The meeting point is near public transportation, and most people can participate. Because this is a private activity, you do not need to adapt your learning to a large group.
Free cancellation is available if you cancel at least 24 hours before the start time. Changes or cancellations inside that period are not accepted for a refund, so keep the local Hong Kong time in mind.
Who should book this Hong Kong photo walk?
I would recommend it most strongly to three types of people. First, it suits a camera owner who understands basic controls but feels uncertain at night. Second, it works well for someone who wants candid city scenes rather than only postcard views. Third, it is a good choice for a couple or small private group that wants a flexible evening with individual help.
Beginners can benefit, but you should be ready to learn by doing. This is not simply a sightseeing ride where someone else handles every setting. You will get more from it if you bring a camera you know at a basic level and arrive with one or two questions.
I would be cautious if you have only a phone, dislike walking between busy locations, or want a leisurely evening with no technical discussion. The tour is built around photography practice, and its strongest moments come when you are willing to stop, adjust, try again, and compare results.
Should you book the Hong Kong Photography Masterclass?
Book it if you want to improve your night photography while seeing Hong Kong through markets, streets, harbour views, and the Peak. The private format, flexible approach, and coverage of long exposure, light trails, light painting, and high ISO shooting give the $170 price a reasonable basis.
Before paying, confirm the transport plan between Kowloon and Hong Kong Island and arrange a tripod if you need one. If you do that and arrive with a charged camera plus a clear idea of what you want to learn, this should be a focused and rewarding way to photograph Hong Kong after dark.
FAQ
How long does the photography lesson last?
The experience lasts approximately three hours.
Where does the tour begin?
It begins at the former Kowloon-Canton Railway Clock Tower, 10 Salisbury Road, Tsim Sha Tsui, Hong Kong.
Where does the tour end?
The activity ends back at the meeting point.
Is this a private tour?
Yes. Only your group participates in the activity.
Is a camera included?
No. You need to bring your own camera.
Is a tripod included?
No. A tripod is available to rent, but it is not included in the tour price.
Just added in Hong Kong
- Walking Tour in Hong Kong – Local Experience (New & Best)★ 4.5 · 33 reviews
- Full Day Private Trip in Hong Kong( impeccable local )walk tour★ 5.0 · 11 reviews
- Hong Kong Guided Dinner + Laser Show Lounge Entry (2023) | 200+ booked★ 3.5 · 7 reviews
- TurboJet Ferry E-Ticket from Hong Kong to Macau★ 4.5 · 10 reviews
- VIP Private Hong Kong City Sightseeing Tour★ 5.0 · 2 reviews
- Victoria Peak Tram and Sky Terrace 428 Admission Hong Kong★ 4.5 · 33 reviews
- Group Vegetarian Food & Cultural Tour★ 5.0 · 16 reviews
- Hong Kong Victoria Harbour Sightseeing Cruise Tickets★ 4.5 · 8 reviews
Workshops, compared.
Half-Day Chengdu Cooking Class with a Local Market Visit
Read our review →
Organic Chinese Dumpling Class with Market Walk
Read our review →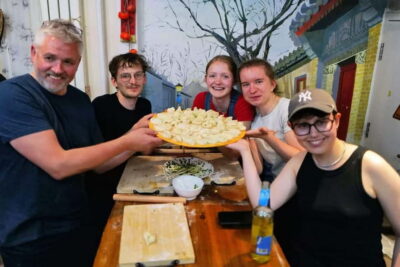
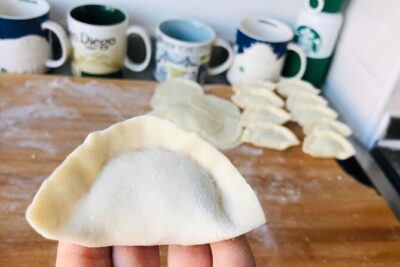
Online Cooking Class Beijing Dumplings and Cuisine by Sunflowerli Renowned Chef
Read our review →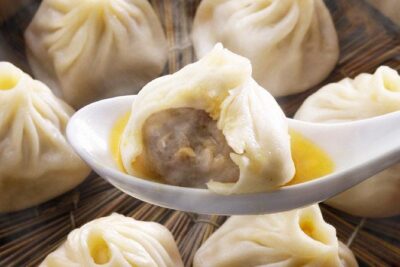
Organic Xiao Long Bao Soup Dumpling Class & Market Walk
Read our review →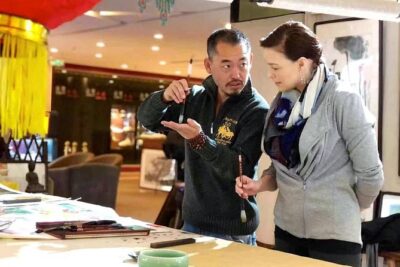
Beijing Wangfujing Calligraphy Class by Forbidden City
Read our review →Where else this tour turns up